Flower Craft Tutorial
You will need:
*pipe cleaners
*tissue paper petals
*a button, and glue (a glue stick works fine).
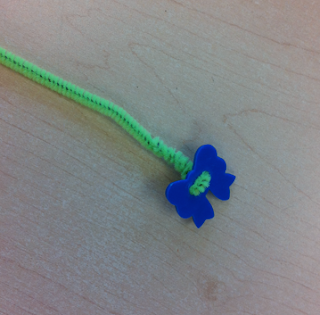
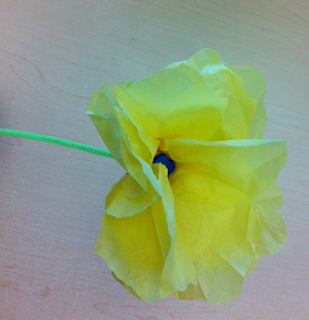
1. Put the pipe cleaner (stem) through the button.
2. Add a little glue on the underside of the button.
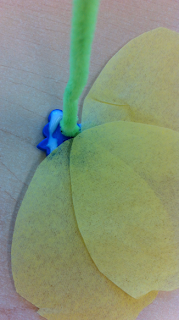
3. Lay on the tissue petals overlapping… as many as you like. Add more glue as needed.
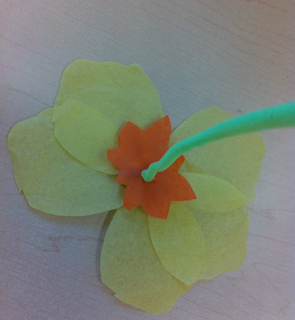
4. Add another color on the bottom, or other colors of tissue. This is where students get creative! The more petals you add, the puffier the flower will be.
5. Once dry, bend and crunch the petals upwards around the button very gently.
All done! So pretty! Put lots of different supplies out so students can make a lot of them, and try different ideas.
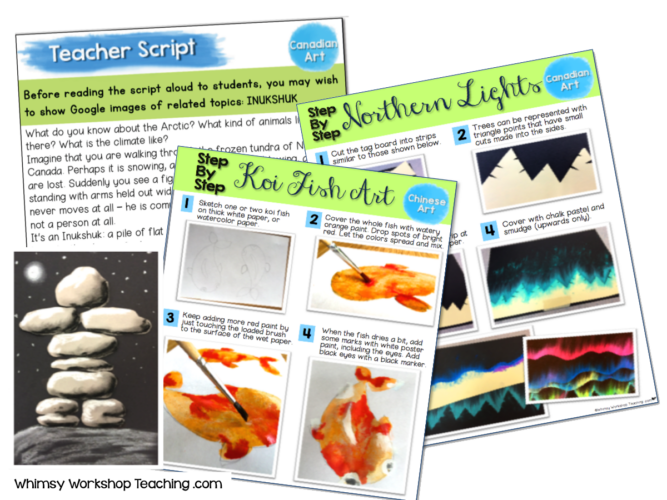
If you’d like to see more step-by-step photo tutorials, you can choose from these huge collections of art lessons for elementary classrooms. Each has lots of photos, a teacher script to read aloud to students, and literacy components to deepen thinking and expression through writing. CLICK HERE to take a peek!


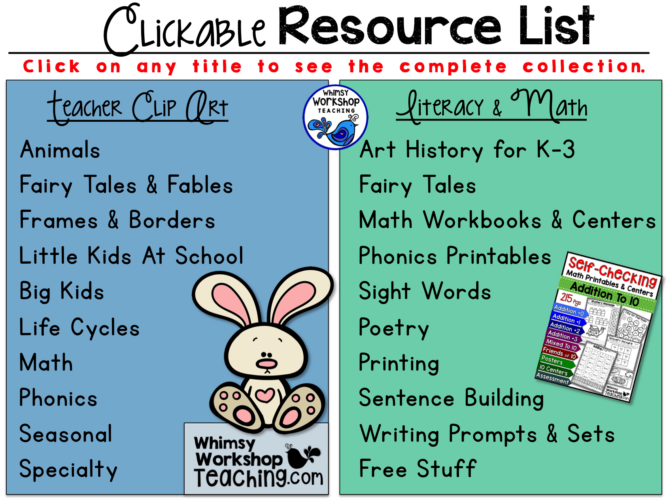
If you’re having trouble finding what you need for math, literacy or clip art, you can grab this handy Clickable Catalogue for everything available in my TPT store – a big time saver! Tuck it away for when you need it!
Click here to download the clickable resource list to keep for later.






 Back To School + School Things Bundle
  Best Friends Kids and Animals
  Animals With Glasses