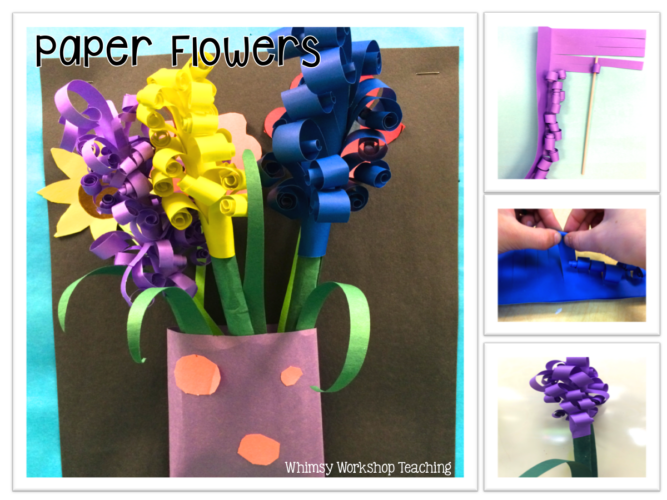
I’ve been wanting to try these paper hyacinth flowers for a few years now, but to be honest, I was afraid!
I was worried that I’d end up with a classroom full of frustrated students who were unable to curl the petals and wanted me to do it for them! So, I decided to try it in small groups, just to be safe, and we talked a lot about our growth mindset before we started. As it turns out, my fears were unfounded – with the correct materials my primary students figured it out quite quickly. Here are a few tricks to make it all do smoothly for little ones.
First, the petal-cutting part.
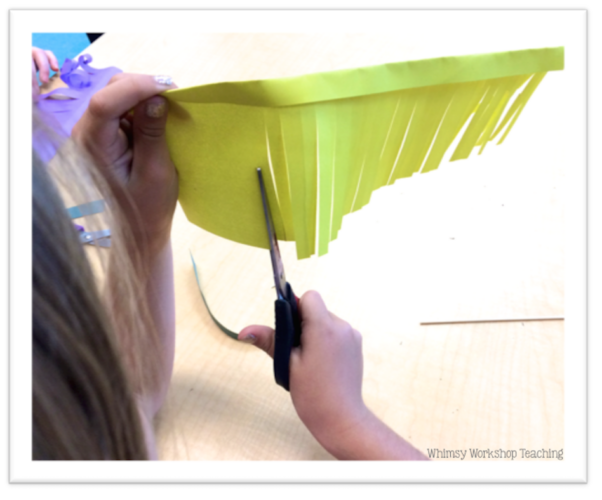
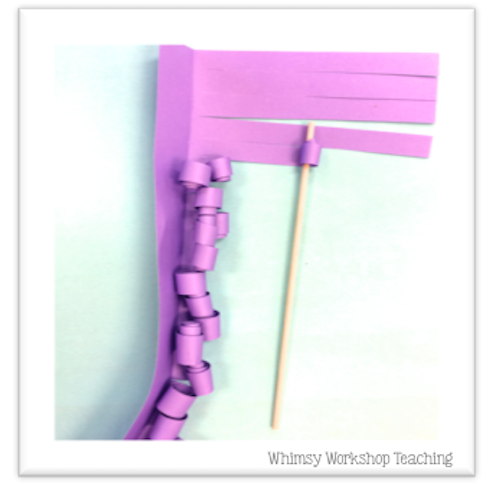
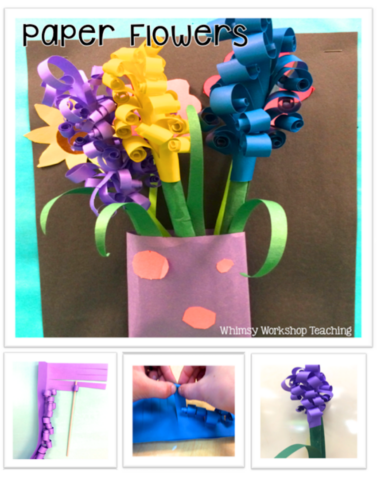
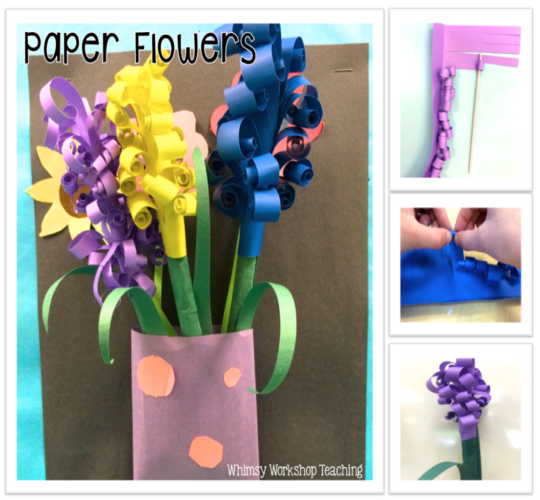
Trick #1 was the fold over the edge of the paper as shown below, so students could easily see how far to cut. I did this before we started to make sure things got off to a good start.
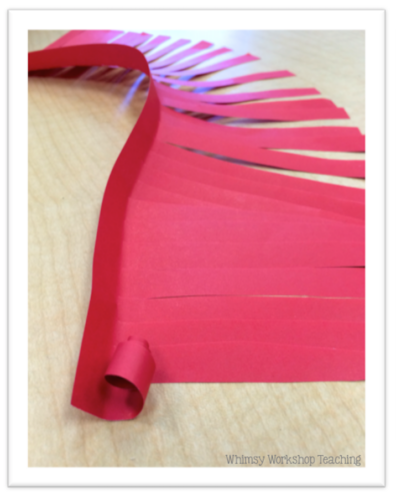
Next came the curling. Trick #2: Use thin wooden sticks to curl the paper around. Pencils will work, but the curls will be bigger, so you’ll need longer strips. It took them a few tries, but once they got the hang of it, they LOVED doing this part!
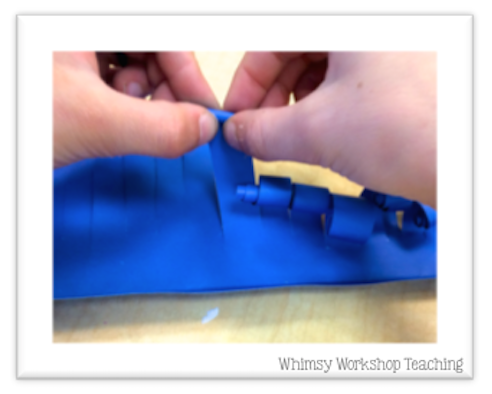
Next, making the stem and attaching the petals.
Trick #3: Roll up green paper into thin tubes to make a simple but sturdy stem, and long thin triangle shapes to make leaves. As you are starting to glue on the strip with the curls, just make sure it is held perpendicular to the stem as it’s glued onto the top of the stem, then wrap it around the stem going downward. The curls face outward and downward; students figure this out by trial and error – any other way and it just won’t look right!
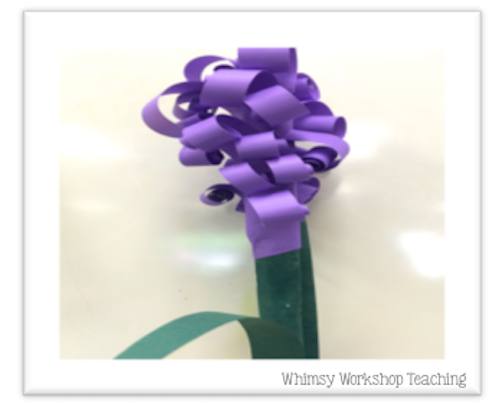
The final presentation: Trick #4: Make a simple vase out of a paper tube glued to black paper; the bottom of the tube is glued shut so the flowers won’t fall out. This way we could just drop the finished flowers into the vase as they completed them. Some students also made flat paper flowers to flue on behind their hyacinth, which I thought was a great 3-D effect!
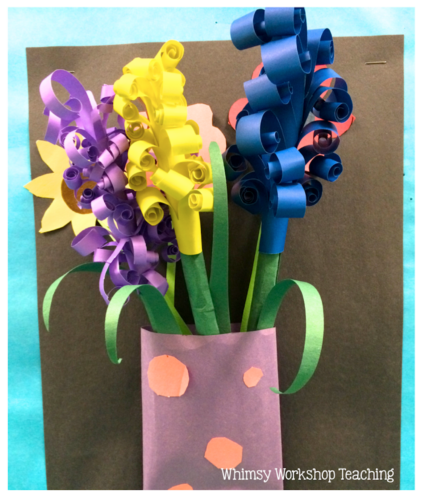
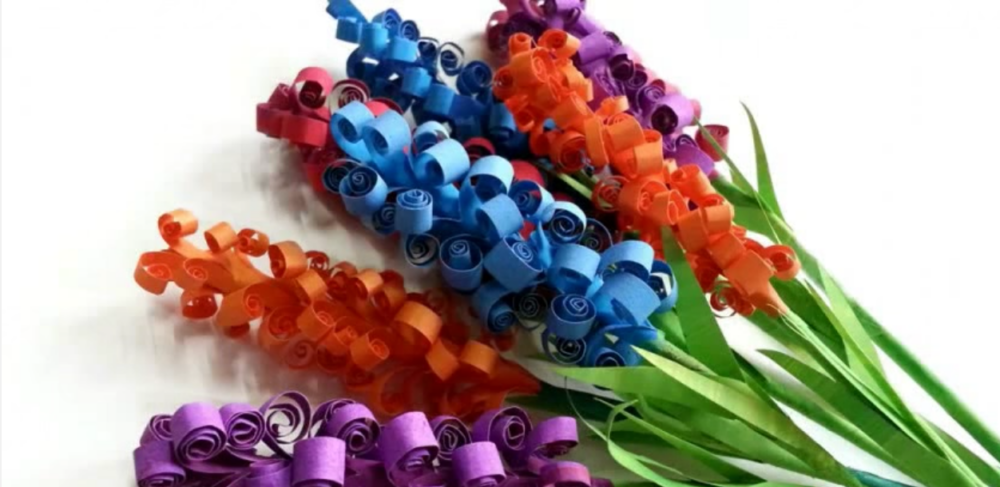
You can click on the picture below to see a video tutorial that we used as reference, or simply do a search for “paper hyacinth video” and you’ll find lots of options!
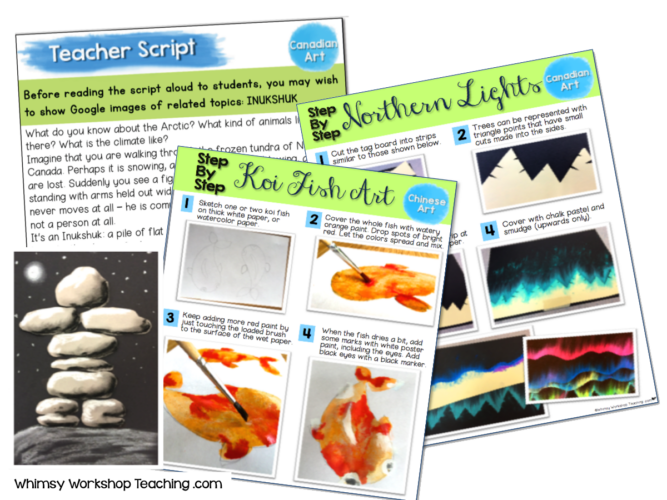
If you’d like to see more step-by-step photo tutorials, you can choose from these huge collections of art lessons for elementary classrooms. Each has lots of photos, a teacher script to read aloud to students, and literacy components to deepen thinking and expression through writing. CLICK HERE to take a peek!
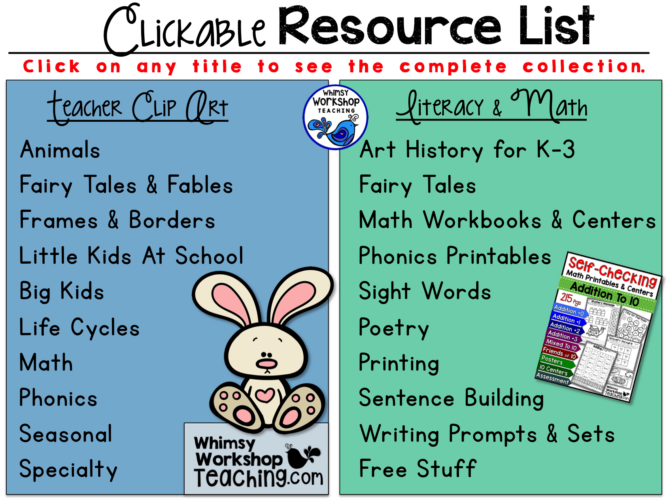
If you’re having trouble finding what you need for math, literacy or clip art, you can grab this handy Clickable Catalogue for everything available in my TPT store – a big time saver! Tuck it away for when you need it!
Click here to download the clickable resource list to keep for later.

 Back To School + School Things Bundle
  Best Friends Kids and Animals
  Animals With Glasses