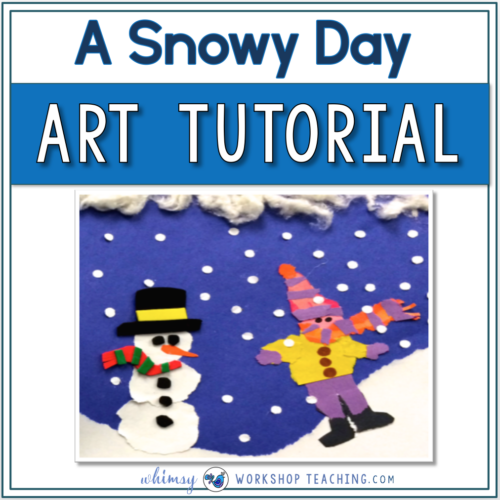
There is a magical feeling in the air whenever the snow begins to fall. However, it also makes it feel extra cold, so students just want to cuddle with blankets. This means teachers must bring in activities that help students warm up and feel excited to learn! Luckily, here is the perfect snow day art tutorials and activities list! With these no-prep, fun activities, students will have so much fun warming up in the classroom.
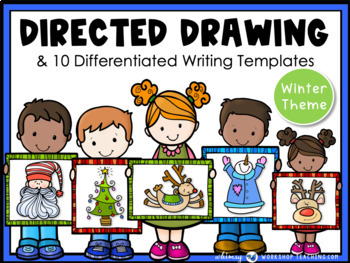
Snowman Crafty Writing
Students love crafts! Honestly, they would do them all day if they could. However, there are so many academics to focus on. Thankfully, this activity combines crafts with writing!
For the art project, students color the snowman picture elements and cut out the pieces. There are over 10 different versions to ensure students are supported and challenged. After cutting out the pieces, students will use their problem-solving skills to decide how the pieces fit together. There is an example if they need a hint. Then, students will work on one of the differentiated writing templates embedded on the bottom of their snowman. Having multiple templates gives students the right amount of guidance and support they need.
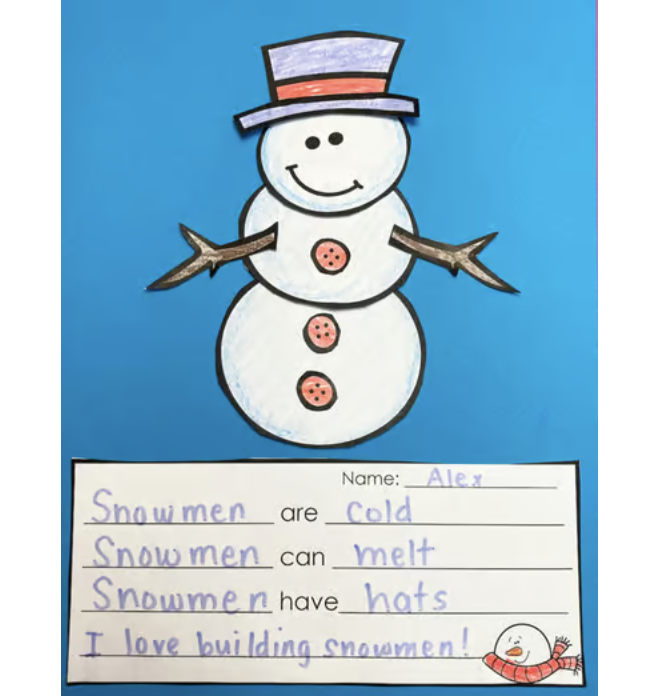
After seeing their incredible snowman, all students will feel successful and proud of their hard work!
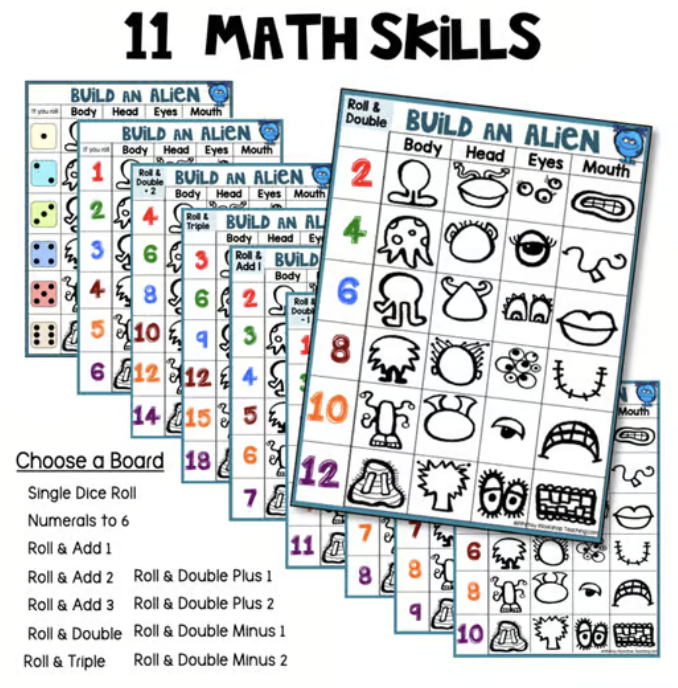
Build a Picture
This is always a student favorite when looking for snow day art tutorials and activities! It combines math dice games, directed drawing, and writing about their art! Students will pick their picture. Then, they will roll to see which feature to draw for the head, eyes, nose, and mouth. After finishing the picture, they will begin the writing portion. Since everything is on one page, the entire activity stays organized!
Specifically, there are 11 different game boards for each theme practicing a different math skill. This includes numeral recognition, adding on, rolling and doubling, tripling, and more! Additionally, there are 11 different writing templates to use with any of the game boards. This allows students to practice simple sentence building, sequencing, self-editing, punctuation, comic dialogue, and more!
Since students have different needs, they can draw their pictures on the differentiated writing templates. This allows the teacher to handpick skills to ensure they have appropriate activities for each student.
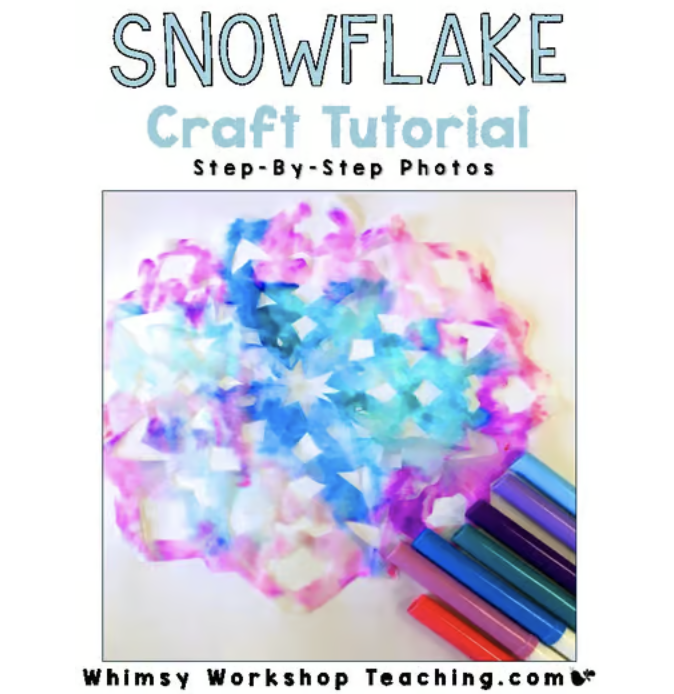
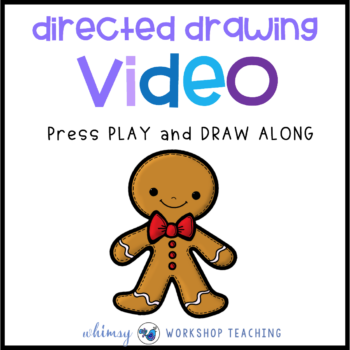
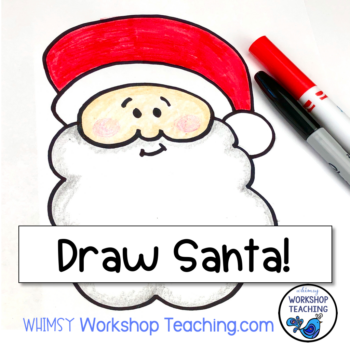
FREE Snowflake Craft Tutorial
Students love to draw snowflakes! So, they will love this activity when looking for snow day art tutorials and activities! The step-by-step photo tutorial shows them a quick, easy art project producing beautiful snowflakes! These will be the perfect way to decorate the classroom once students return from winter break. Light even passes through them for a stunning snowy effect.
While the outside may be snowy, cold, and windy, the classroom can be full of warmth and sunshine! With the snow day art tutorials and activities, students will have so much fun working on their math, writing, and art skills. Best of all, they will learn so much without even realizing it!
If you do not want to miss any of the upcoming lessons, join my email list to be notified of all the interactive lessons coming up! By joining the email list, you will receive freebies for blog exclusive subscribers!
 Art History for Elementary 1
  Art History for Elementary 2
  Art Around The World
  70 Seasonal Arts & Craft Activities Megabundle
  Directed Drawing Full Year Bundle

I love that art lesson. I’m pinning and saving for next year ’cause I’m really hoping it will warm up a bit around here:)
Enjoy the last few days of spring break!