Looking for some fun and easy Christmas crafts for class? I have some ideas to share!
Here are some cute little winter craft ideas that my grade 2 students tried this year.
WREATH CRAFTS
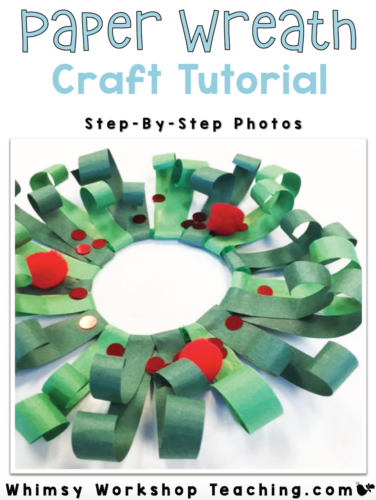
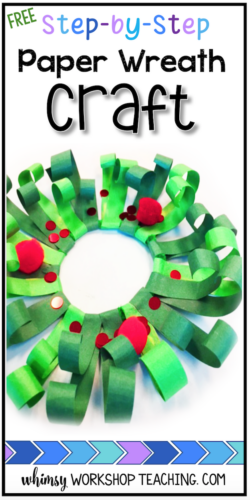
First, you can make this simple curled paper wreath with just a few supplies. All you need is one pipe cleaner (or wire) bent into a circle, and some green paper strips and red pom poms!
Want a copy of the step by step pictures for your art files? Click below to download the step by step photo tutorial. Give it a try, and then tuck it away into your winter art files to use year after year!
Pin for later!
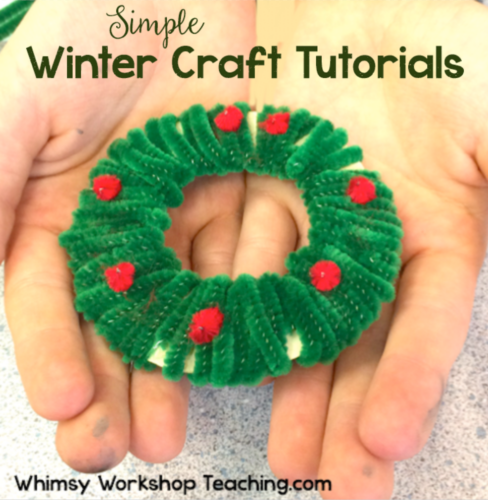
WREATH IDEA #2
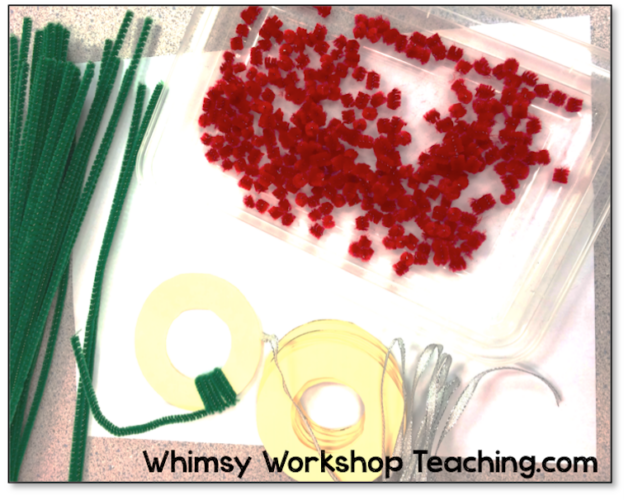
We also made a different kind of wreath as shown below.
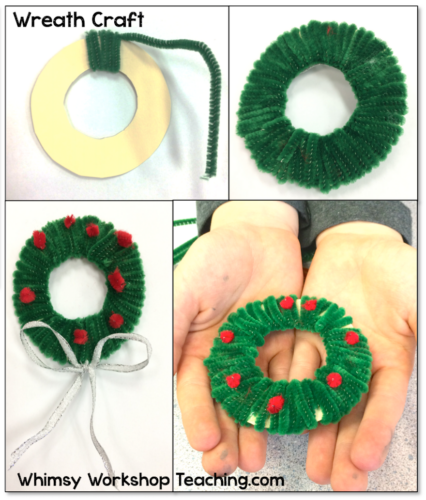
Supplies:
10-15 green pipe cleaners
1/2 red pipe cleaner, cut into small pieces (about 1/4 inch)
tag board or cardboard cut into a doughnut shape as shown
ribbon (optional)
scissors
How To:
I pre-cut the cardboard templates, but older students could easily cut them by folding thick paper and cutting two half circles, one inside the other, to make the letter O. The thicker, the better.
Students simply wrap their green pipe cleaners around the cardboard ring – not too tight and not too loose – experiment! When one pipe cleaner runs out, just tuck the end underneath the rest and start again with a new piece, tucking the ends into previously wrapped pieces.
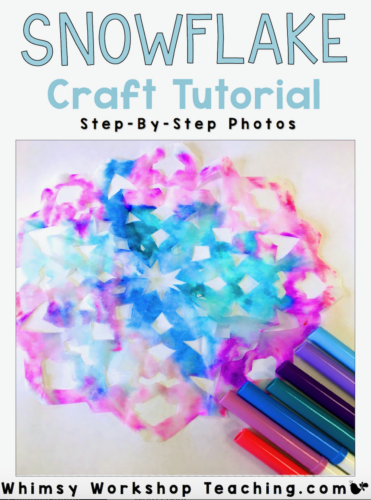
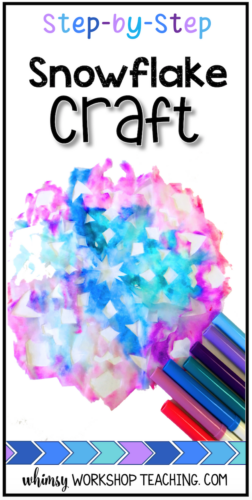
SNOWFLAKE CRAFT
Our snowflakes turned out to be gorgeous hanging on our windows, especially when the sunlight shone through!
You can download this free step-by-step photo tutorial by clicking BELOW!
Pin for later!
CHRISTMAS TREE CRAFTS
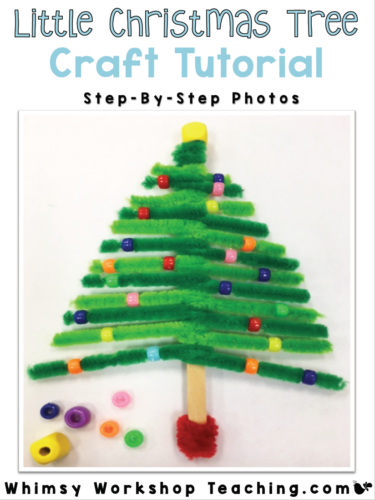
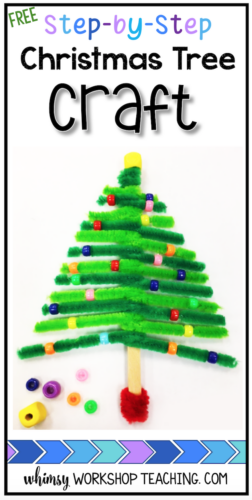
TREE CRAFT #1
The simplest tree ornament was made with pipe cleaners, beads, and a wooden stir stick!
You can download the full photo-tutorial by clicking BELOW!
Pin for later!
TREE CRAFT #2
Another simple Christmas tree craft is shown below.
I drew my own simple template and copied it for students the first time. Once they got the idea, they made their own!
As shown in the pictures, cut on the lines and fold the sections, alternating direction.
TIP: when the flaps are folded up like in the picture below on the far right, tell students to fold and press them down to make a good crease. This will help the tree stand up more easily.
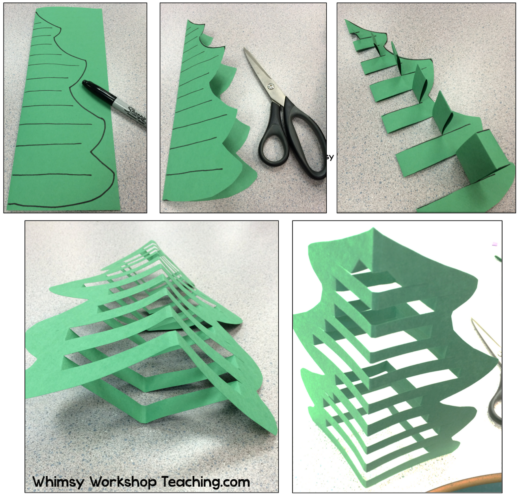
Pull the paper out so the pieces alternate as shown above. The tree should stand up on it’s own, especially with thicker paper. You could also add some small bits of tape to stabilize the wobbly ones.
Next, add stickers, glitter, a star – or anything else you can think of to decorate the tree!
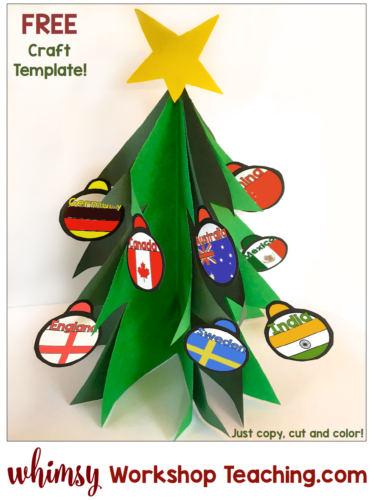
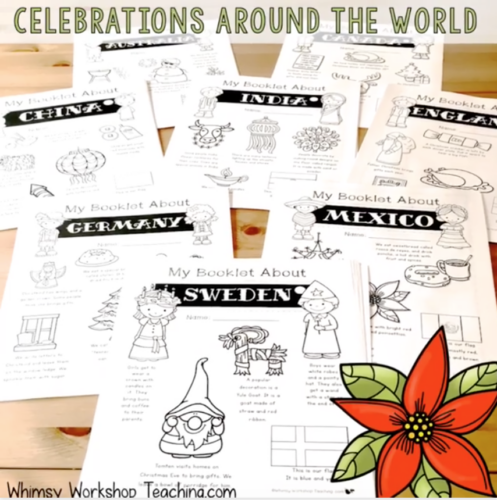
TREE CRAFT #3
It is part of our Christmas and Celebrations around the world study that lasts most of December.
It’s a free download within the product preview for Christmas Around the World. Just CLICK HERE and then click the PREVIEW button. Download and print just the pages you can use!
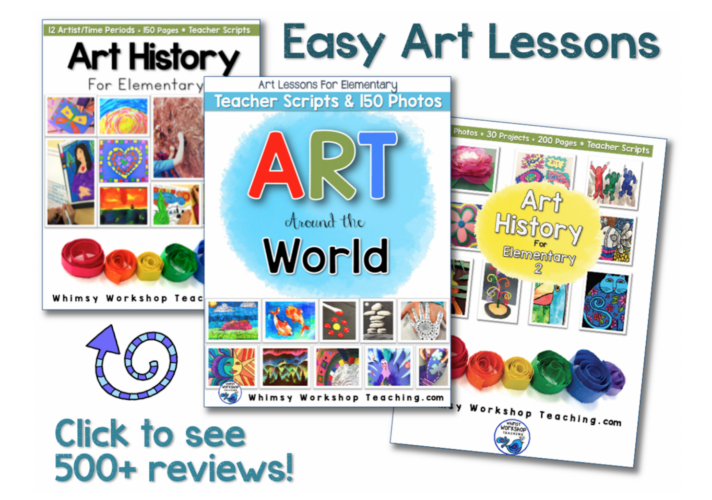
STEP BY STEP ART IDEAS FOR THE WHOLE YEAR
Looking for more easy art lessons for busy teachers? Click HERE to see the whole collection!
SAVE TIME IN SEARCHING FOR IDEAS
If you’re having trouble finding what you need for math, literacy or clip art, you can grab this handy Clickable Catalogue for everything available in my TPT store – a big time saver! Tuck it away for when you need it!
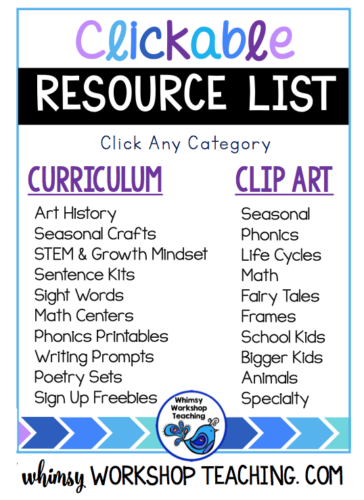
Click here to download the clickable resource list to keep for later.
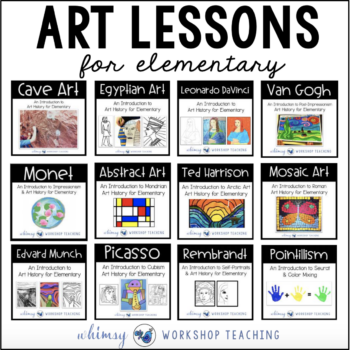 Art History for Elementary 1
 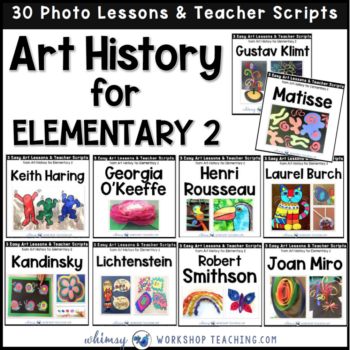 Art History for Elementary 2
 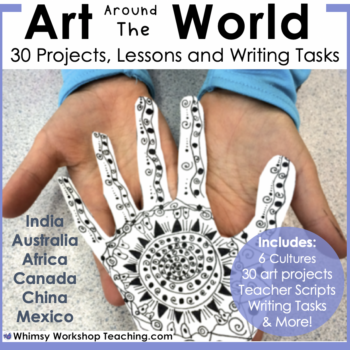 Art Around The World
  70 Seasonal Arts & Craft Activities Megabundle
 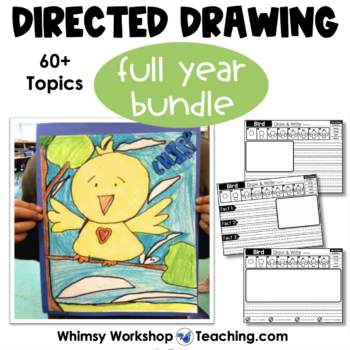 Directed Drawing Full Year Bundle
